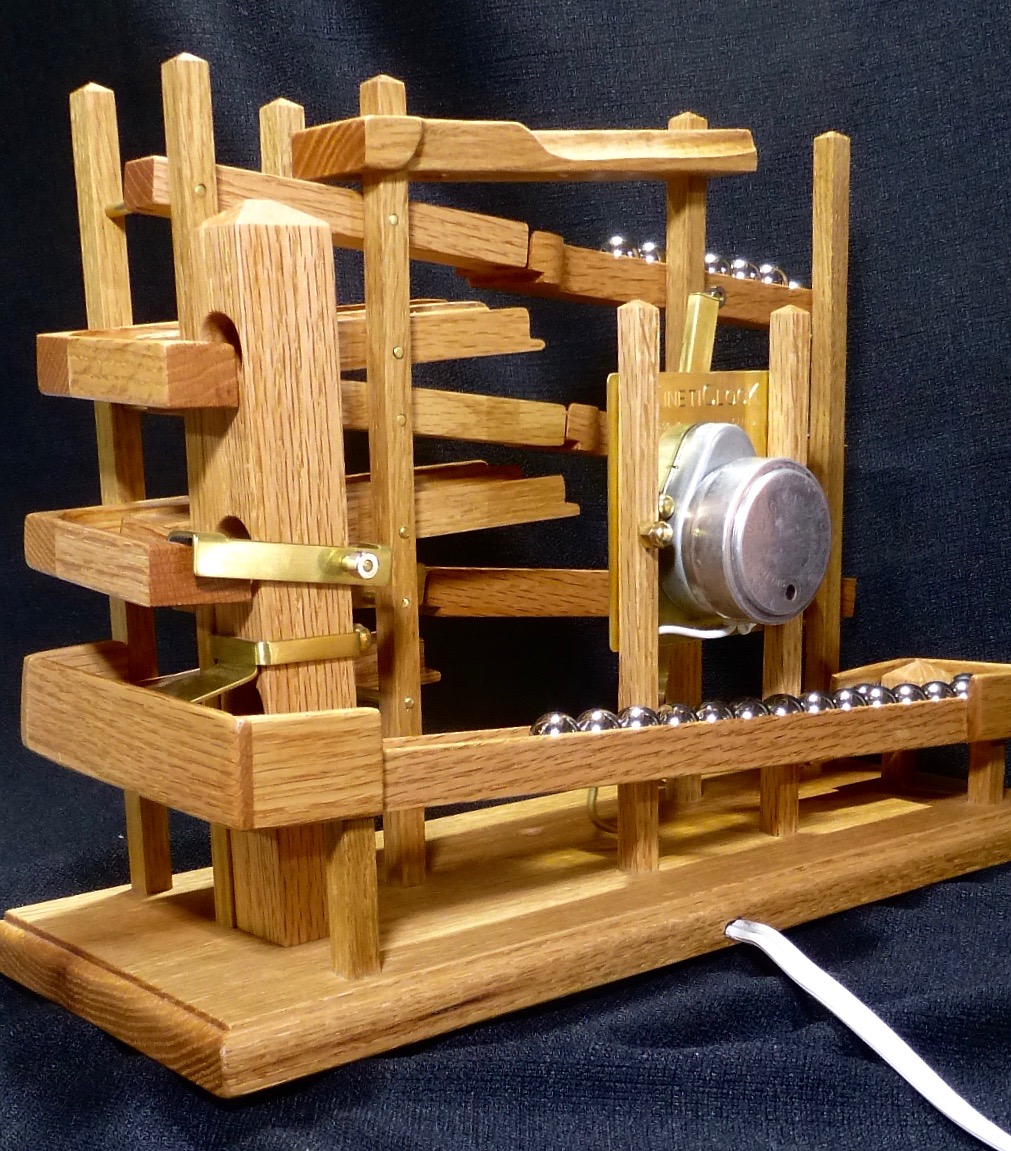
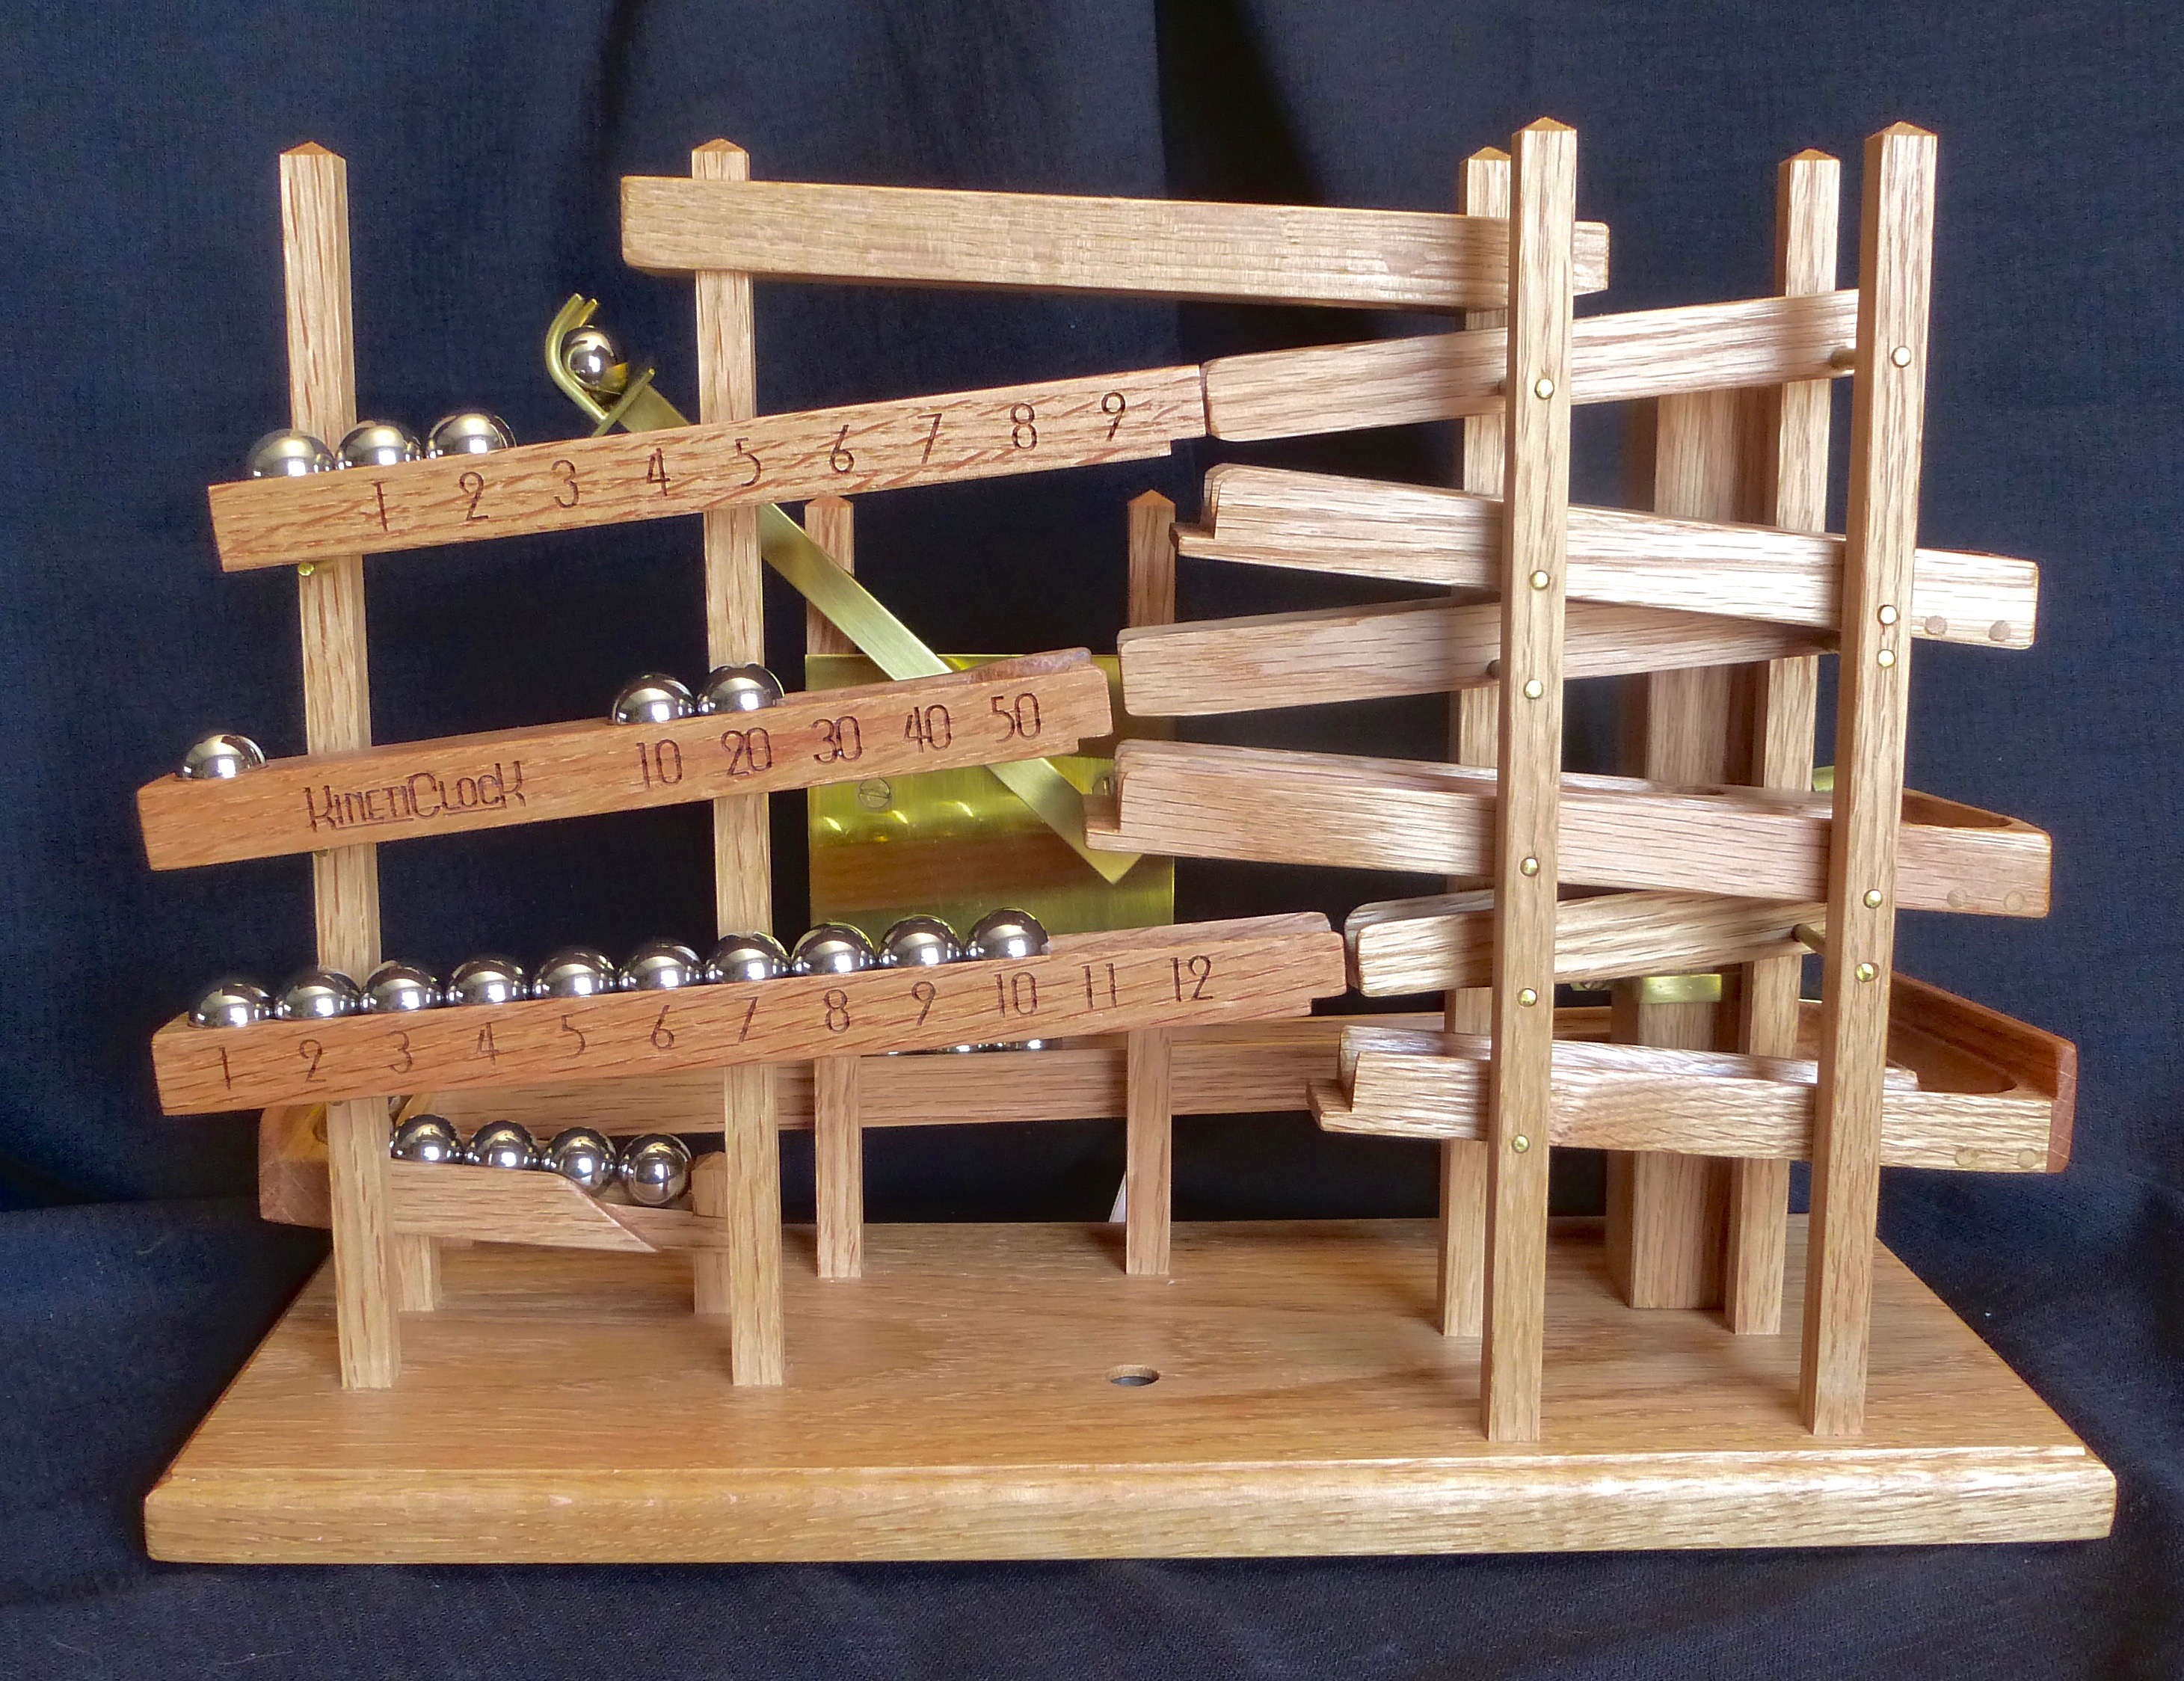
Time in motion
KinetiClocK is the evolution of a tried and true concept from the 70's. All of the genius, novelty, and fascination of the Original Idle-Tyme Rolling Ball Clock are present in KinetiClocK. Design, fabrication methods, precision, longevity, and appearance make KinetiClocK stand out.
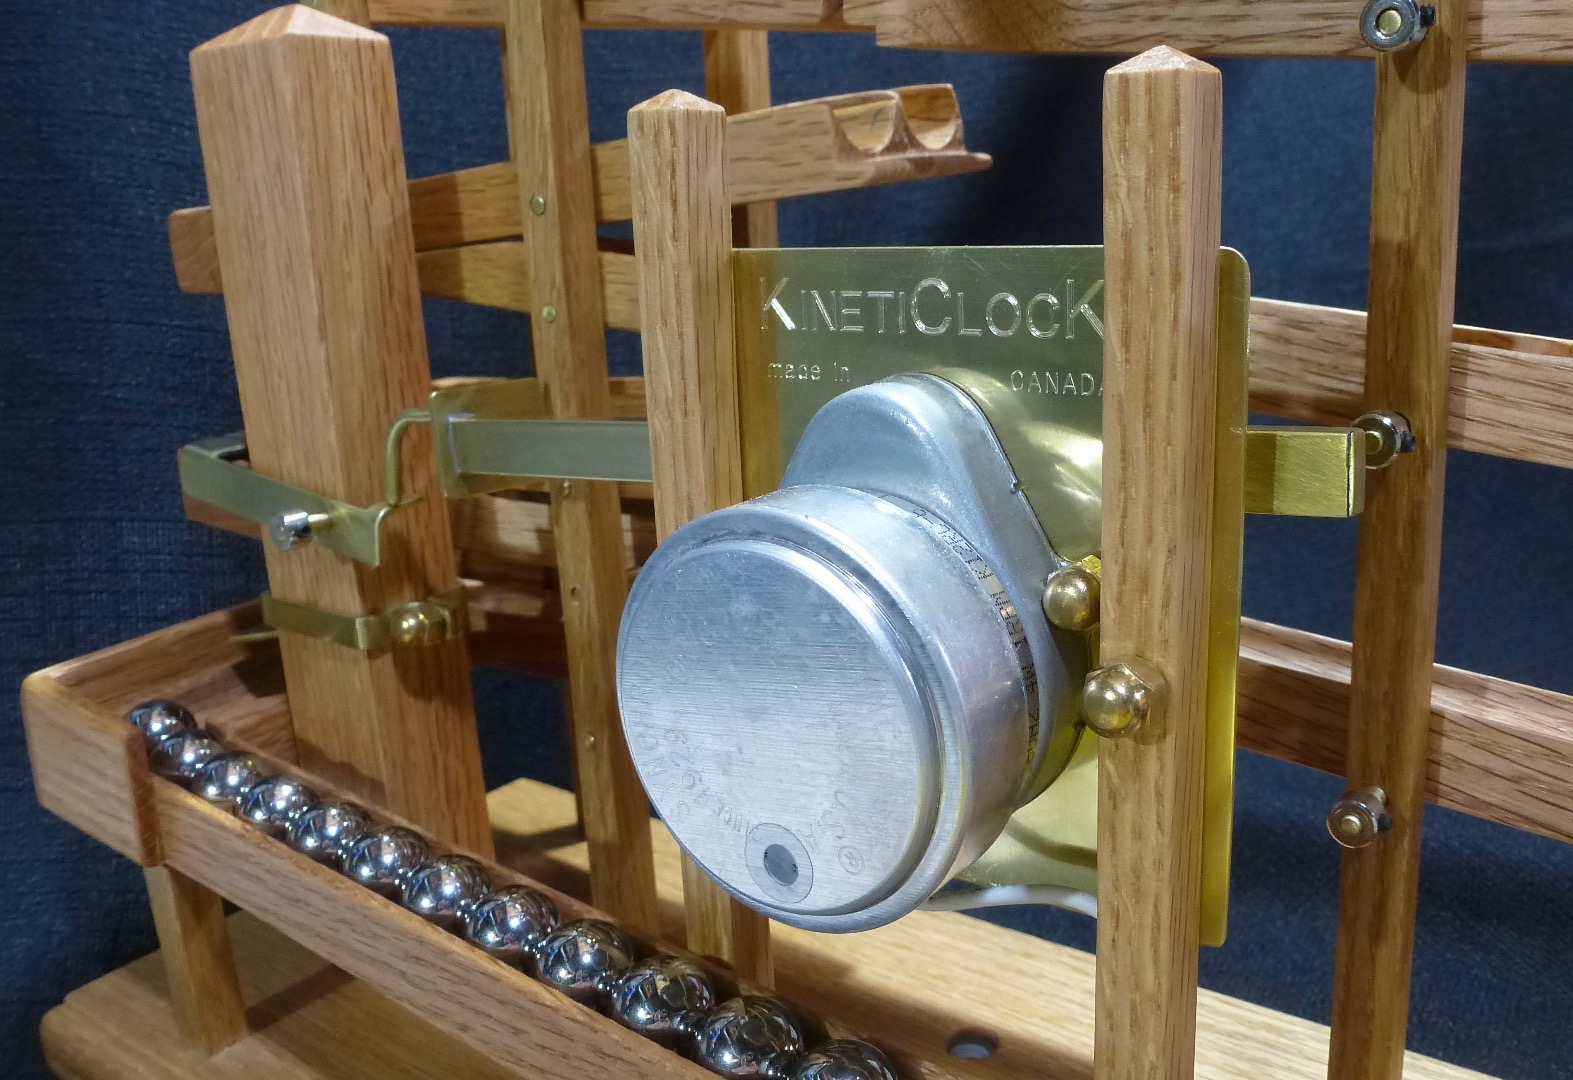
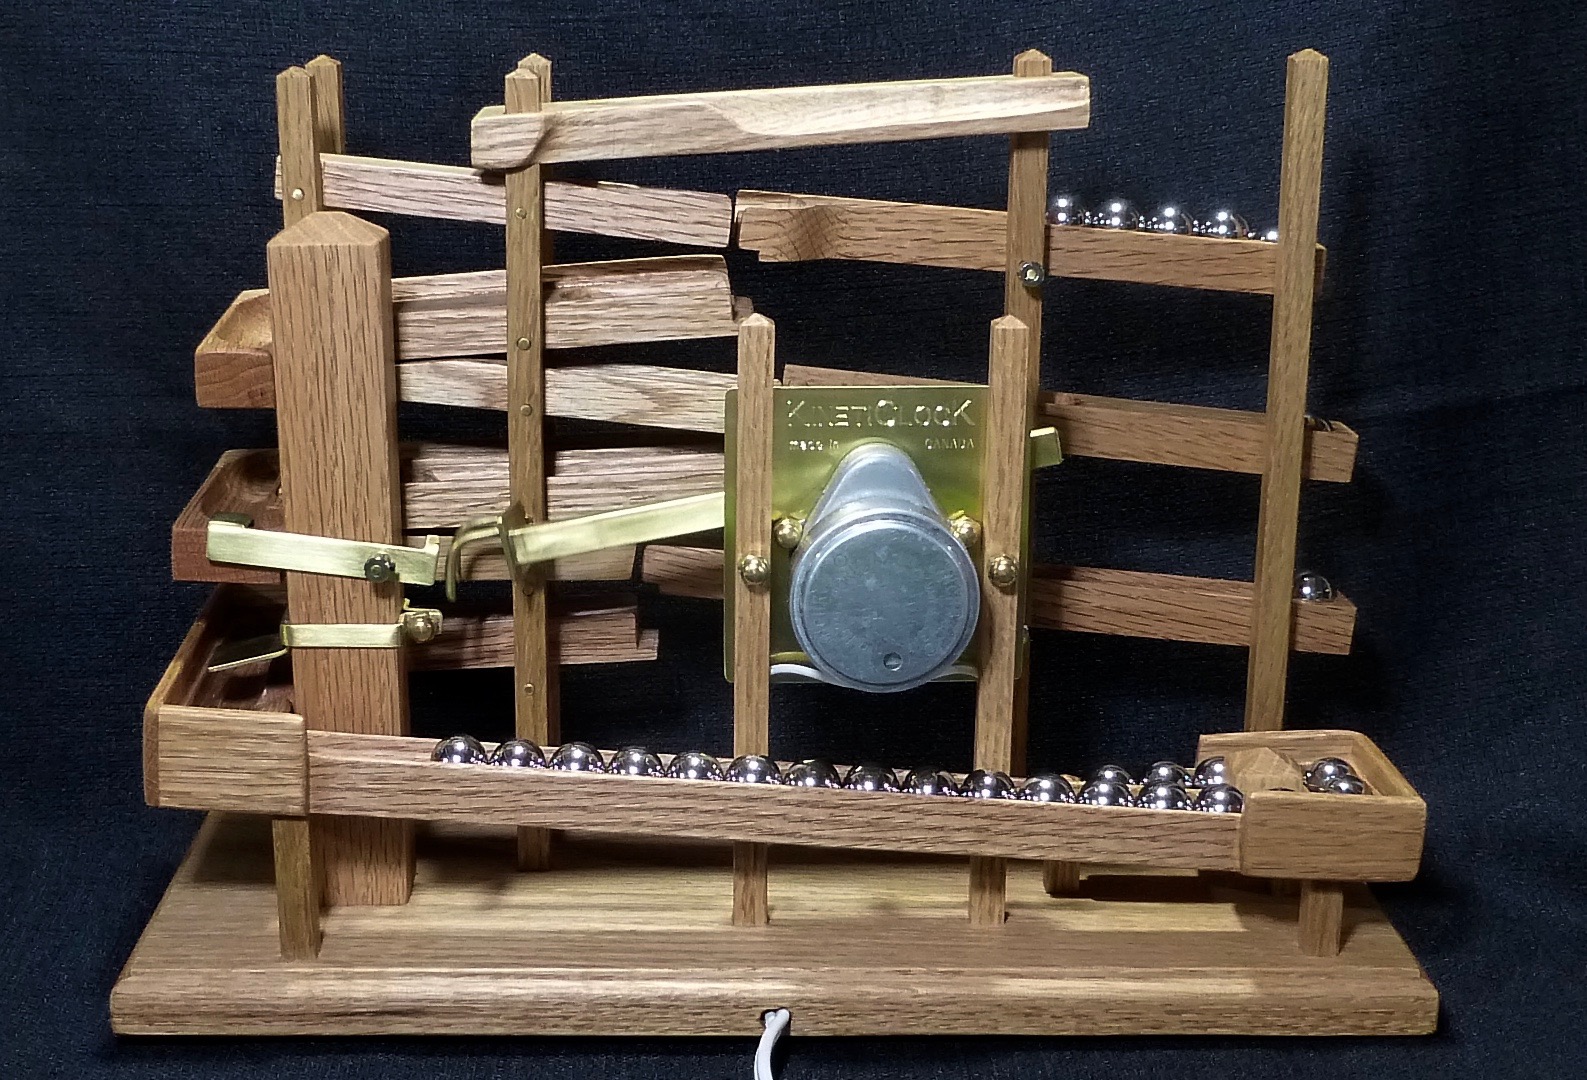
For example, the rotating brass arm & claw mechanism is EXTREMELY STRONG and DURABLE. Not only can you actually TOUCH this innovative new claw mechanism, but a KinetiClocK can be PICKED UP by its brass claws alone! This will NOT affect (1) the operation, (2) the accuracy, or (3) the WARRANTY of your KinetiClocK.
Also, the ball bearing pivot points (1) are highly accurate, (2) are durable, and (3) never require lubrication.
Present owners of an Original Idle-Tyme Rolling Ball Clock, horologists, collectors, or anyone who appreciates the beauty of natural wood and fine woodworking might be interested in a KinetiClocK.
Your KinetiClocK combines the finest materials and craftsmanship to ensure heirloom quality, reliable precision, and plenty of fascination for many years to come … enjoy!
Your KinetiClock is a precision instrument. Please avoid any rough contact.
SET-UP
- Locate your KinetiClocK away from direct sunlight, extreme temperatures or humidity.
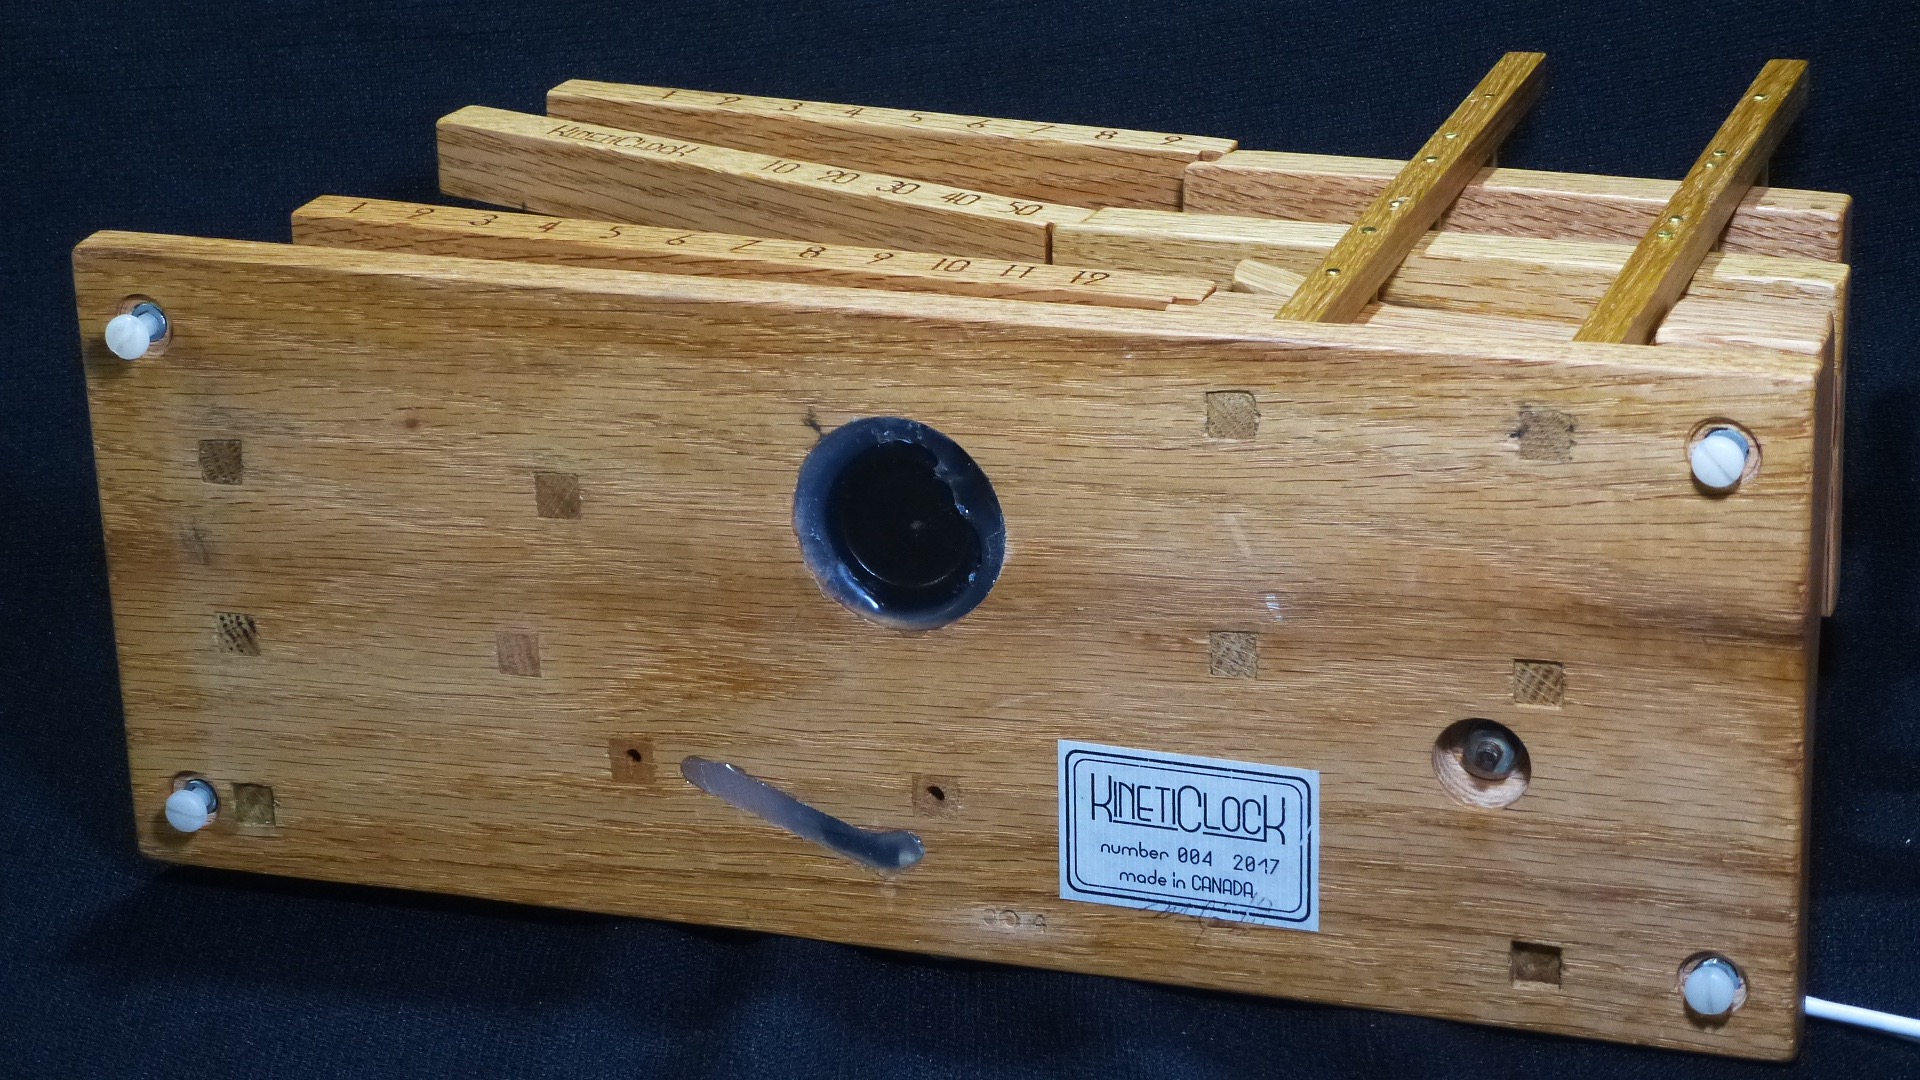
- Adjust the 4 feet as little as possible to level the clock.
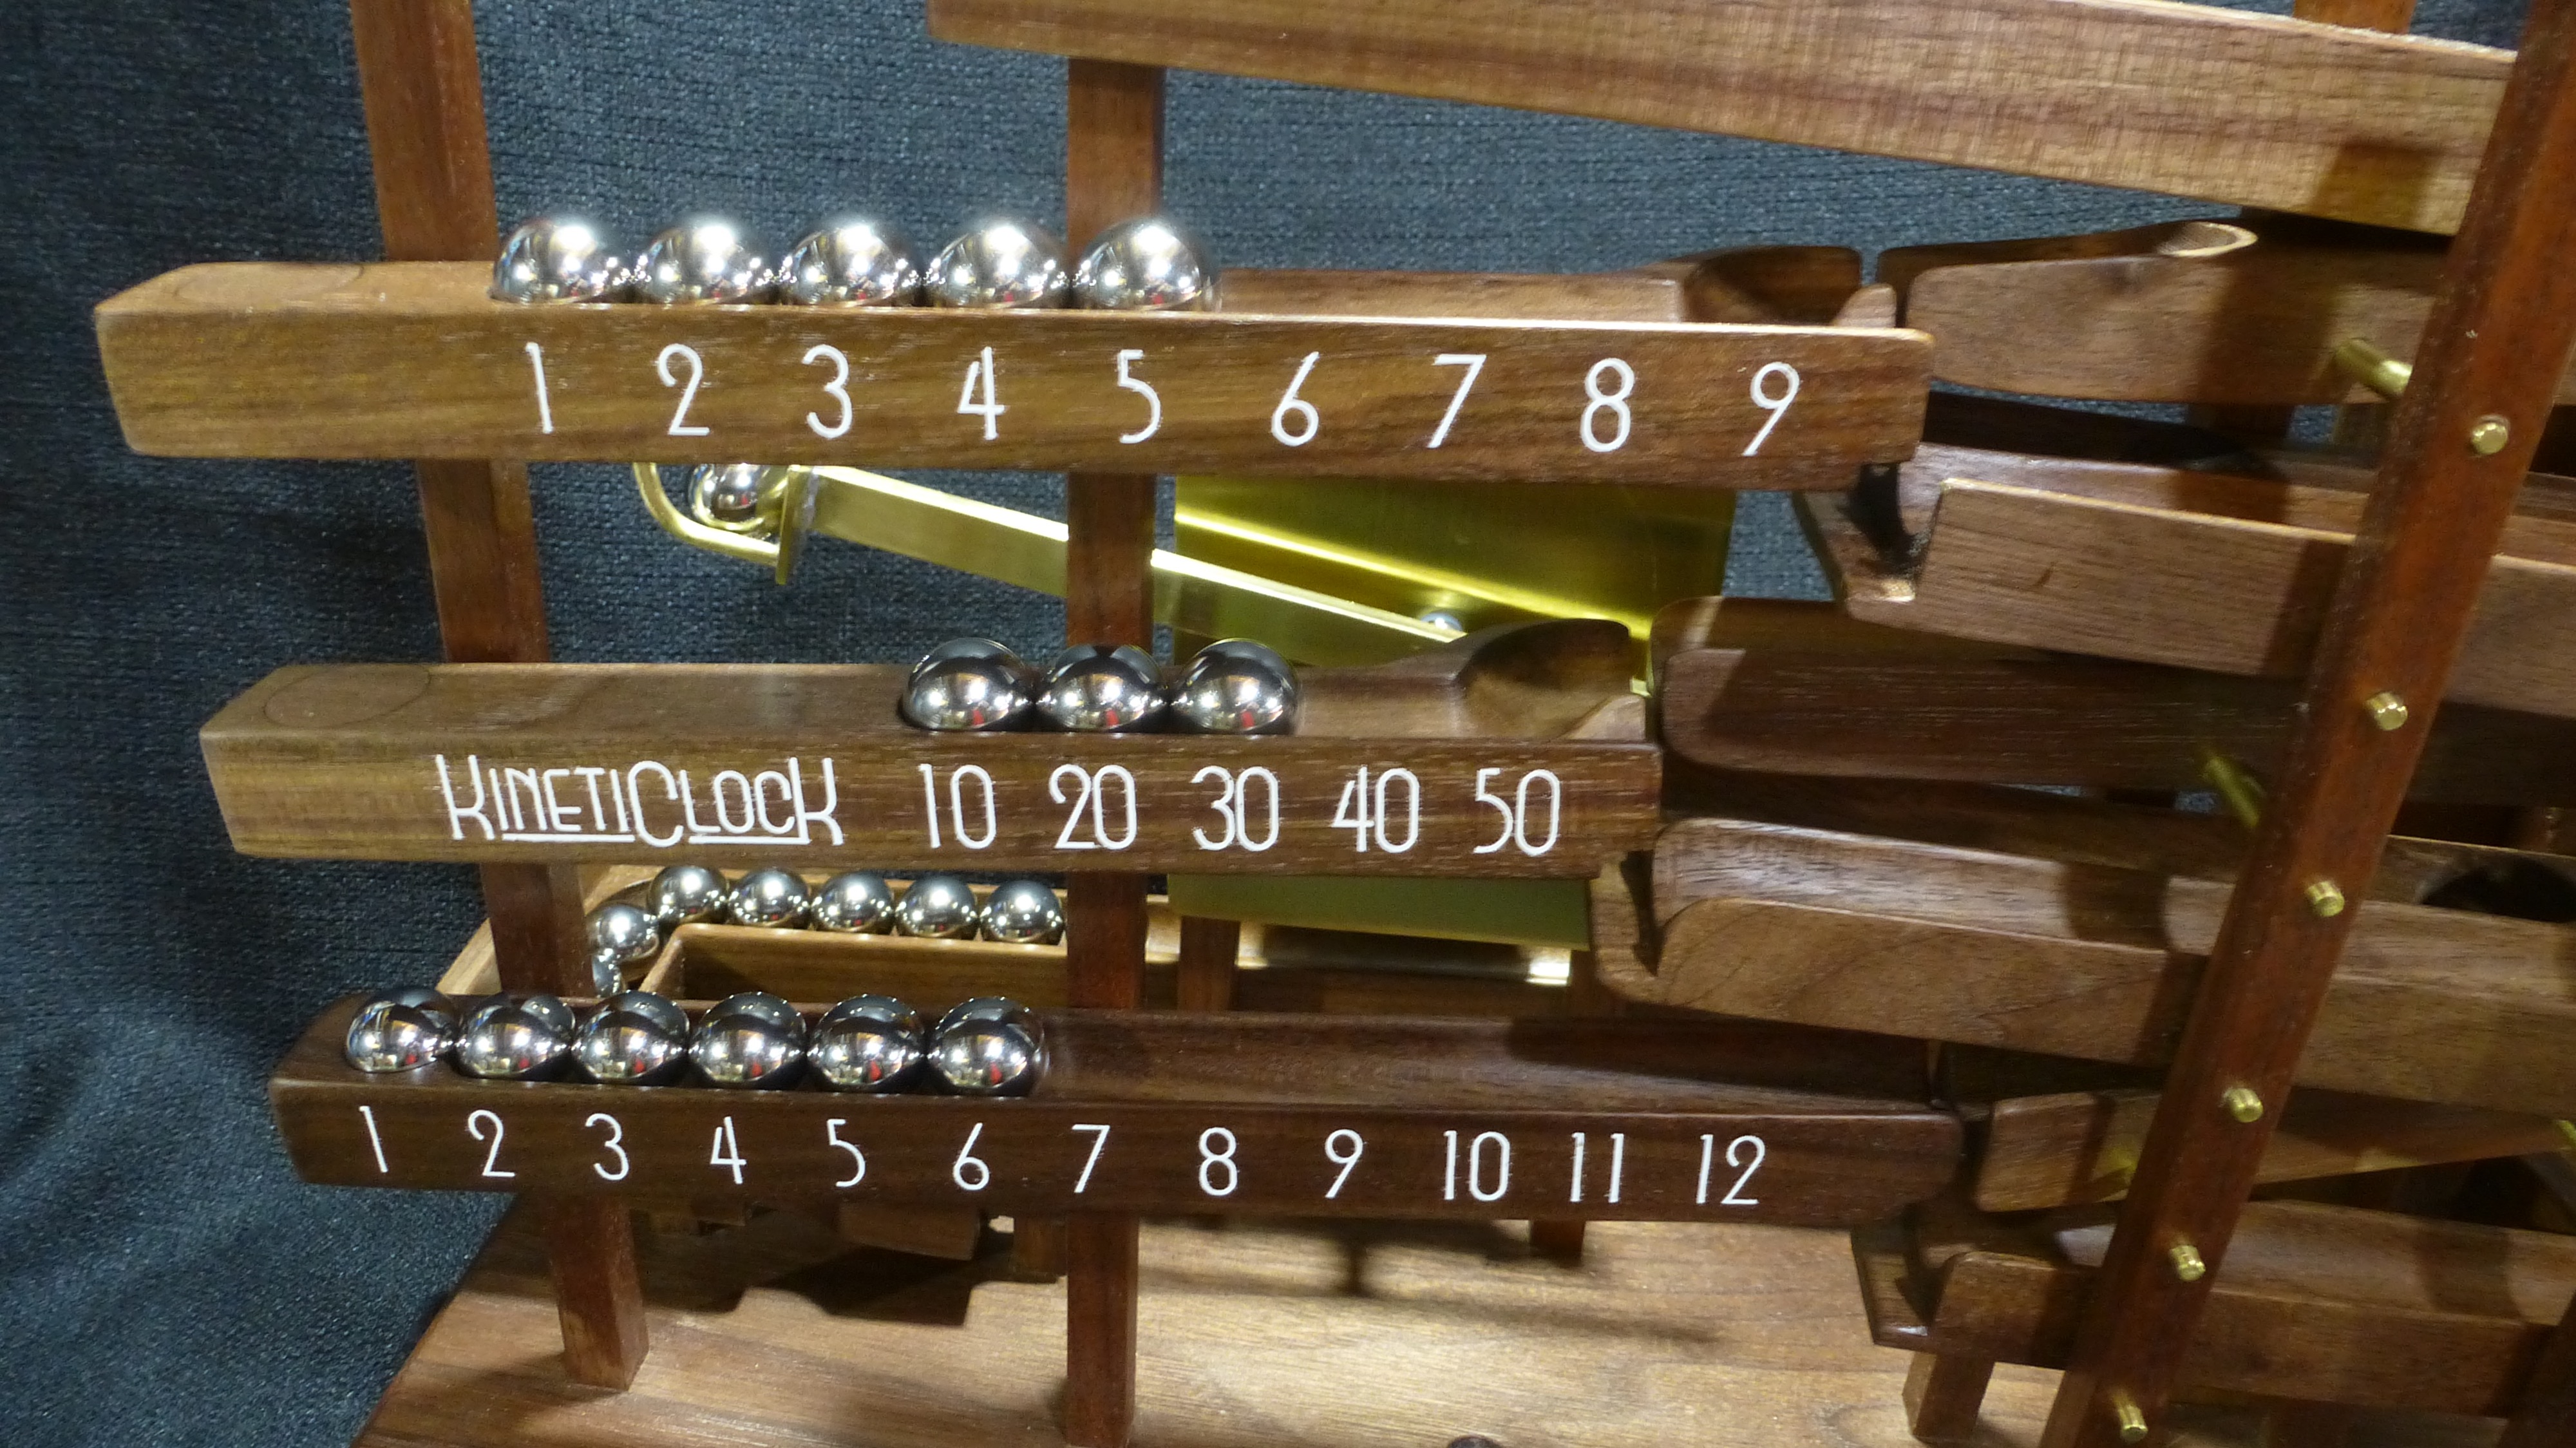
- Fill the 3 ramps according to current time. Remaining balls go to the pick-up area.
- Plug into a regular 120v 60hz outlet, then switch ON. If rotating arm is blocked, simply switch OFF, remove blockage, then switch back ON. This will not harm the motor.
USE & CARE
- Your KinetiClocK requires no lubrication … DO NOT OIL!
- If necessary, gently clean the tracks with a dry microfibre cloth.
- If necessary, gently clean the balls with a microfibre cloth moistened with rubbing alcohol. Allow to dry completely before returning to use.
- Parts are a choking hazard - keep away from children.